Use Globus to Transfer Files to and from CHTC
Globus is a data management service that lets you move files files between endpoints, computers that are connected to the Globus file transfer network. Globus is primarily useful when you need to move large amounts of data to or from somewhere that is already providing a Globus endpoint. For example, a collaborator might provide shared data through Globus, or might expect you to send data to them through Globus.
This guide will show you how to execute such transfers to and from CHTC using the CHTC Globus endpoint, which may be simpler than trying to move the files to your own computer first.
Prerequisites
All file transfer via Globus at CHTC requires:
- access to a directory in the
/stagingor/projectsfolders - login access to the
transfer.chtc.wisc.eduserver.
Contact us at chtc@cs.wisc.edu if you need either of the above.
You will also need to be able to log in to the Globus web interface; you can use your UW-Madison NetID (if you have one, or similar) by selecting University of Wisconsin-Madison from the drop down and pressing “Continue”.
Using the CHTC Globus Endpoints
You can use the Globus web interface to transfer files to and from CHTC. In the web interface, you can select two endpoints and then initiate a transfer between them.
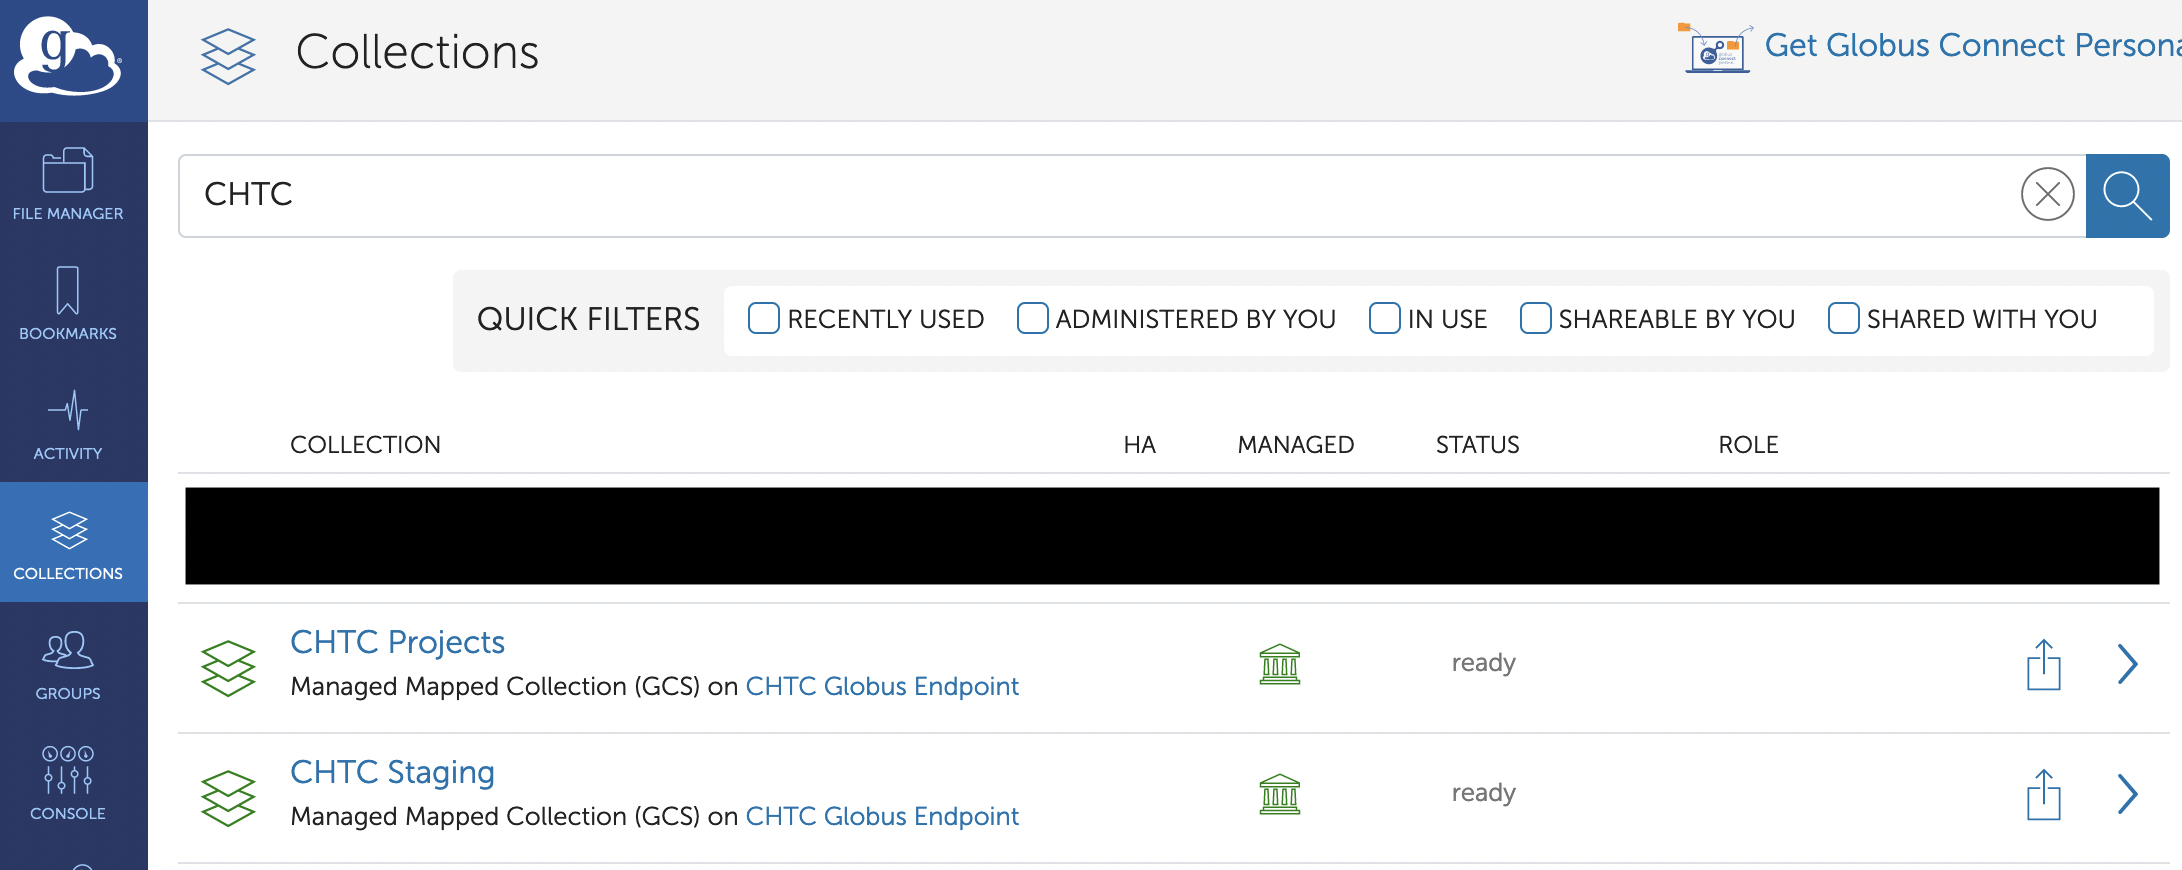
The first step is to find the CHTC Globus endpoints. They can be found in the Globus web interface by searching endpoints for “CHTC Staging” or “CHTC Projects”.

Or can be found at these links:
If you need the actual endpoint UUID, it is listed on the above pages near the bottom of the “Overview”.
To use an endpoint, you must first activate it. Activations are usually time-limited, and transfers can only proceed while both the source and destination endpoints are activated. Activating an endpoint generally requires logging in. You should log in using your UW - Madison NetID. You can see how long your activation will last on the endpoint information page in the Globus web interface.
To begin a file transfer, go to the File Manager. In the top-right corner of the page, make sure you are in the “two panel” view. Select the two endpoints you want to transfer between (they are called “Collections” on this page). You should see a directory listing appear in the middle of each of the panes; select a directory or file and click “Start” at the bottom of the page to move that directory or file to the other endpoint. The item will be moved to the currently-selected directory on the other endpoint.
Globus transfers are asynchronous, and you do not need to leave the web interface open while they run. You will receive emails updates on the progress of the transfer, and you can view the status of in-progress and historical transfers on the Activity page.
You may find some of the “transfer settings”, available by clicking the
“Transfer & Sync Options” dropdown, useful.
In particular, sync will help reduce the amount of time it takes to transfer
when some data has already been transferred.
Running a Personal Globus Endpoint
The CHTC Globus endpoint is a “Globus Connect Server”, designed for shared use on a dedicated machine. It is also possible to run Globus Connect Personal, a lighter-weight package that adds a Globus endpoint to your own computer, like a laptop or lab computer. Installers are available at that link for Mac, Linux, and Windows.
We only recommend using Globus Connect Personal if you are also working with
some other Globus endpoint (not just CHTC and your computer).
If you are just moving files between CHTC and your own computer, traditional
file transfer tools like rsync will likely be more efficient.